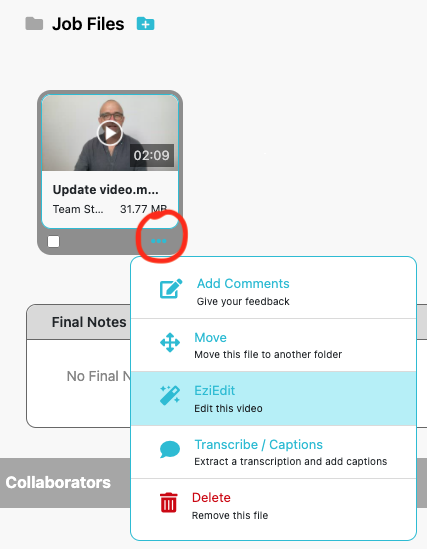
To quickly clean up the start and finish of a video in EziEdit, start with any video you have uploaded to the Job Files section of a Studio Bucket project.
Open the file action menu using the button below the thumbnail image, then select EziEdit from the menu list.
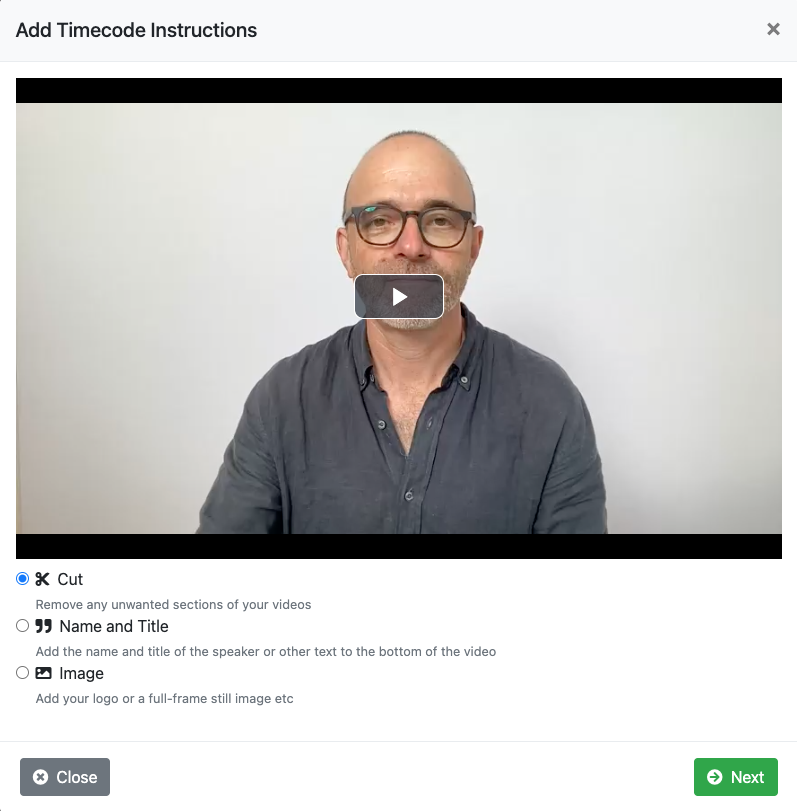
Select the Cut option, and then click the Next button.
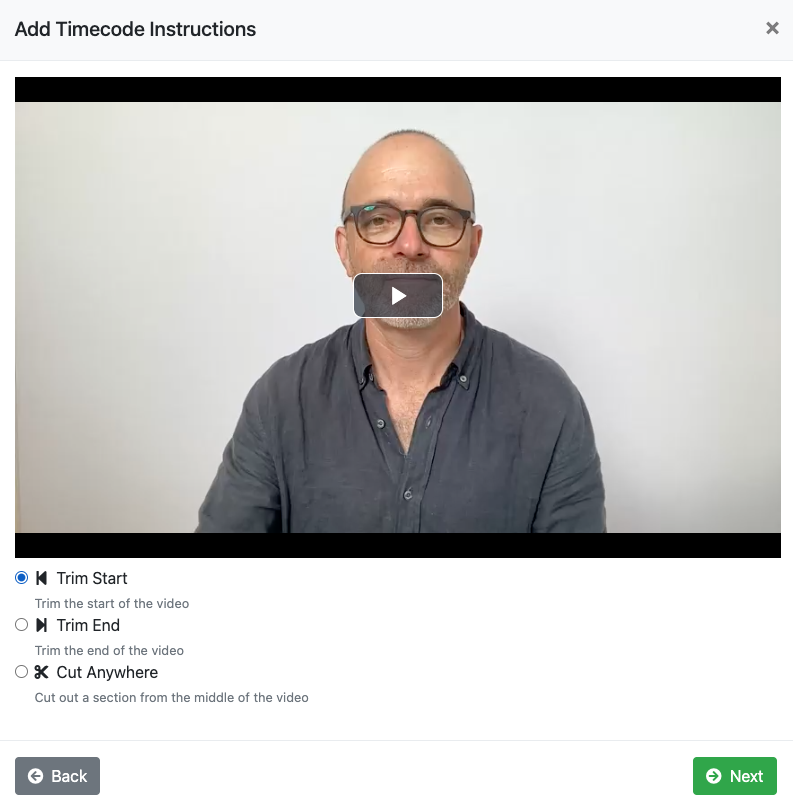
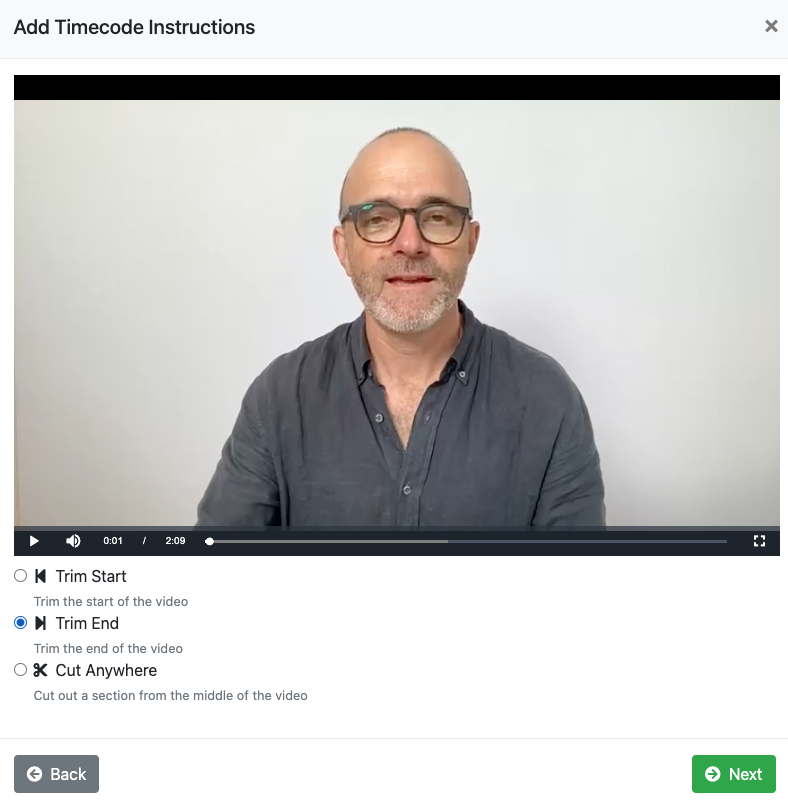
Select the Trim Start option, then click the Next button.
Now it’s time to play your video and mark the spot where you want to start your video.
Click anywhere on the video to play it, and click again at any time if you want to pause.
When you reach the approximate spot where you want to start your video, click on the screen to pause.
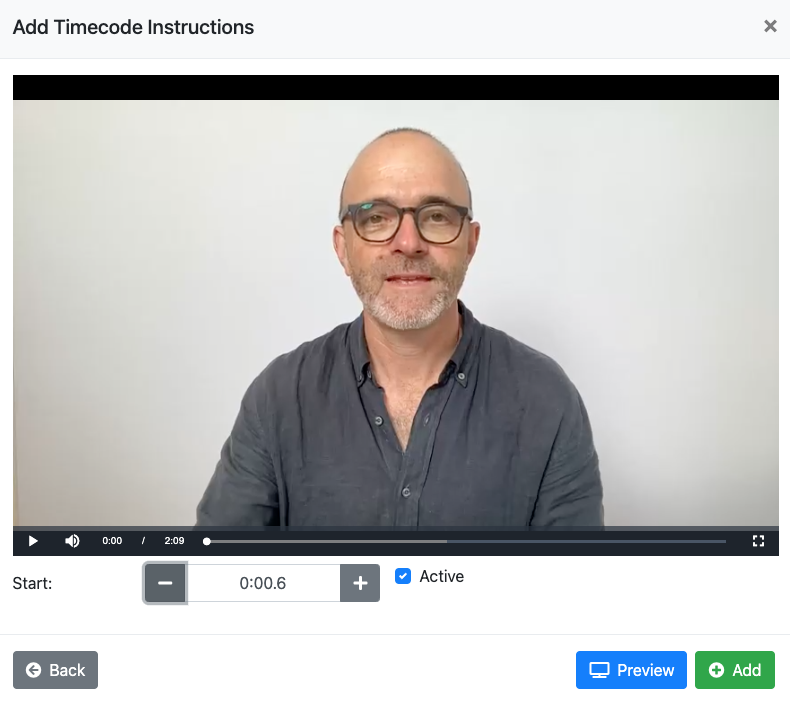
Now you can use the grey and buttons under your video to rewind and forward your video in very small movements, one tenth of a second per click.
You can hold the or button to keep the timer running in that direction. Or if you think you’re a bit further away from your desired edit spot, you can physically drag the video timeline back or forwards.
This will help you finetune your edit to exactly where you want it to start. As a guide, an average word might be half a second when spoken, so 0.5s or five clicks of the or button.
The good news is you don’t have to get it right first time, and even most pro editors don’t. They will go back and forwards, back and forwards a few times to test they are getting the smoothest possible starting point for their edit.
It may be making sure you get the full start of a word, while also trying to make the speaker’s facial expression look natural.
Even one or two clicks of the or button could avoid them starting with closed eyes, or mouth open wide.
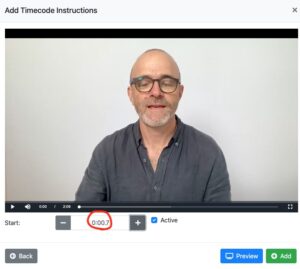
Here’s an example.
In the screen above, the video is paused at 0.6 seconds, and my eyes are open and I’m about to begin speaking.
But I am about to take a big breath before I start talking, which is quite common.
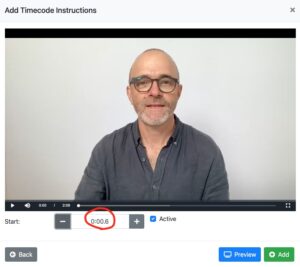
So while it’s fine as it is, I’d like to try and make it even smoother but starting after that breath, so I click the button just once, to move the video forward just 1/10th of a second.
However, that’s all it takes to now show me with my eyes shut.
The good news is that this is a normal part of video editing, and we’ve still got up to half a second, or 5 x clicks of the or buttons, to play with before I start actually speaking.
And in video editing, you can do a lot of good things in half a second!
So it’s a simple as just clicking the or button a few times and watch my face change expression.

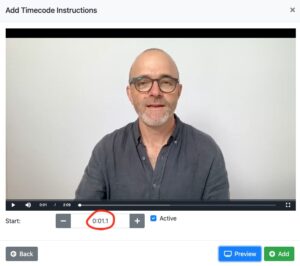
From 0.6 with my eyes open, to one click of the button at 0.7 with my eyes shut, and then two more clicks to 0.8 and 0.9 with the eyes gradually re-opening, before just 2 more clicks to 1.1.
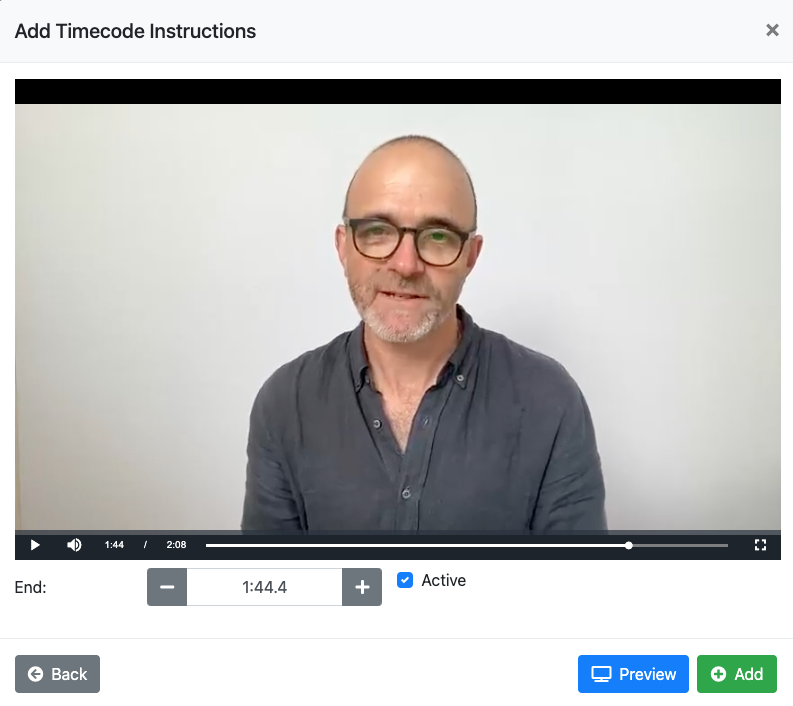
And it’s at this point of 1.1 seconds that I both have a good facial expression AND when I click the Preview button, my first word comes in perfectly.
In the process, I’ve managed to Trim Start of the video to remove both my pre talking big breath, and any shut eyes!
Remember, that all happened in just half a second, from 0.6 to 1.1 seconds, or 5 clicks of the EziEdit button.
Don’t be afraid to over use the and buttons, and then click the Preview button each time to play back your progress edit. Even to rewind quite a bit before the point you want to start your video and let it play.
Just like musicians like taking their instruments well out of tune before bringing them back into tune, often editing video is similar – rewind a bit further than you may need, and let it come back to where you think the edit will be. Then use the and buttons to finetune your edit, clicking Preview each time you want to check with a quick playback of your edit.
Once you’re happy, click the green Add button bottom right to save your edit.
You will notice behind your video popup box you can see your edits being saved to the Instructions list behind it.
You can out of the video popup box at any time to view these full screen. From here you can:
- Update or Delete any edit
- Continue with another edit by clicking Add Instruction
- Of if you’re finished editing, click the green Submit button to send your video into the cloud for processing.
Now it’s time to move on and do a quick clean up to the ending of our video, with a Trim End.
If your video popup is not still on screen, click Add Instruction on the Instructions page to bring back the video popup screen.
Then you are back to the same place you started.
Select Cut once again, and Next, and this time we want to select Trim End and then click Next.
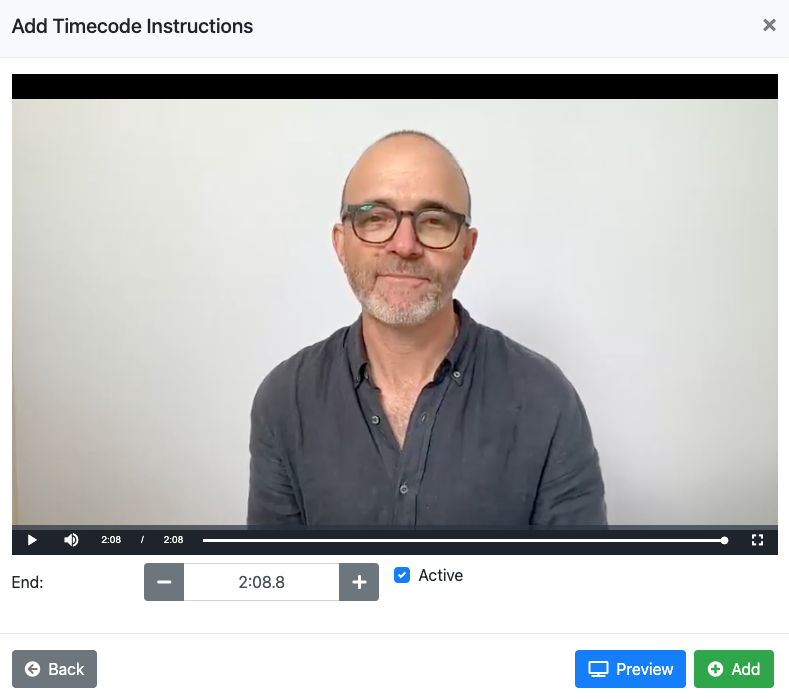
You will notice that the video has moved to the very end. So drag your video timeline back slowly to approximately where you think you want your video to end.
In this example, I’ve dragged the timeline back around 25 seconds to then click the screen to play, giving me plenty of lead in time to be ready to click the screen again to pause at the approximate spot I want to end.
Remember, it’s normal to let the video play to just after the word that you want to end on, and then click the – button to bring it back to exactly where you want.
Once you have found your desired end point, rewind a few seconds more and then click on the screen to play one more time.
When your end point is reached, click on the screen to pause, then use the and buttons to finetune your edit, clicking the Preview button each time you would like to check out your proposed edit.
Once you are happy with your End Trim edit, click the green Add to confirm it and add it to your earlier Trim Start.
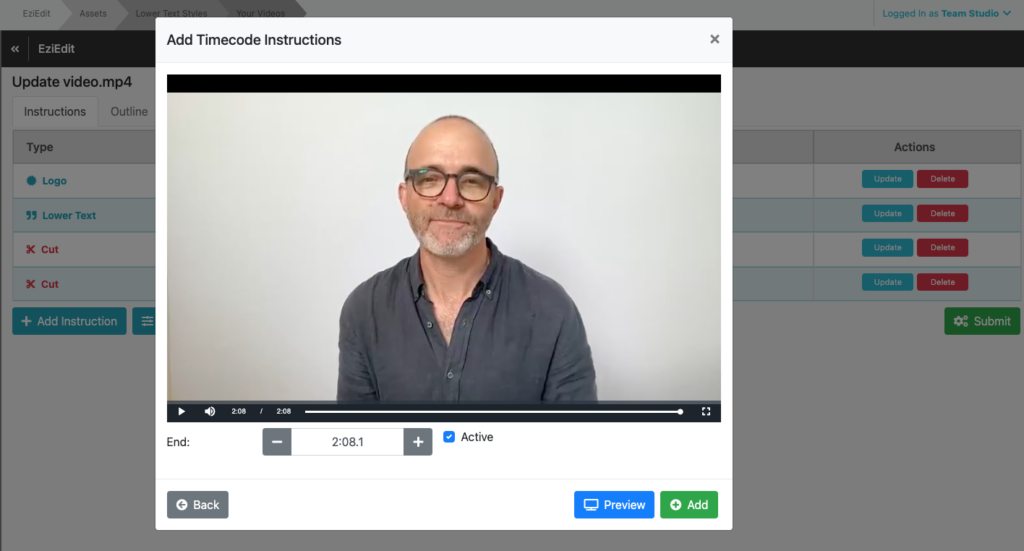
You can now see both these edits in your Instructions list behind your video. Just X out of your video to see these full screen.

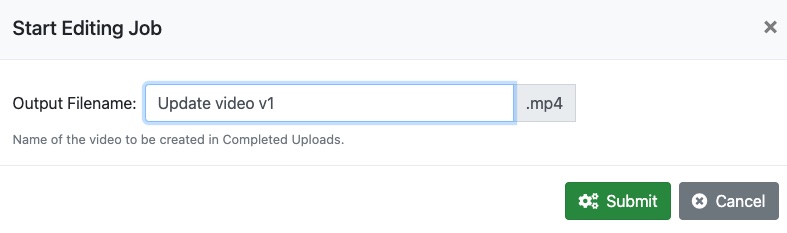
If you have finished your edit for now (and you can always do another revised version at any time), click Submit.
Give your video a file name in the space provided and click Submit again.
You will automatically see your video processing in the Completed Uploads section of your project. Once your video’s thumbnail image is visible your edited video is ready.