If you just need to trim the start and finish of your video, please start with our separate Knowledge Base guide for that.
If you need to also cut some other bits out of your video, we always start by going to the original video file uploaded to the Job Files section of a project on your Studio Bucket platform.
This original uploaded file is your home base for all your EziEdits, both now and for any revised versions you do to your edit in the future.
Use … below the thumbnail image and then click on EziEdit in the drop down list.

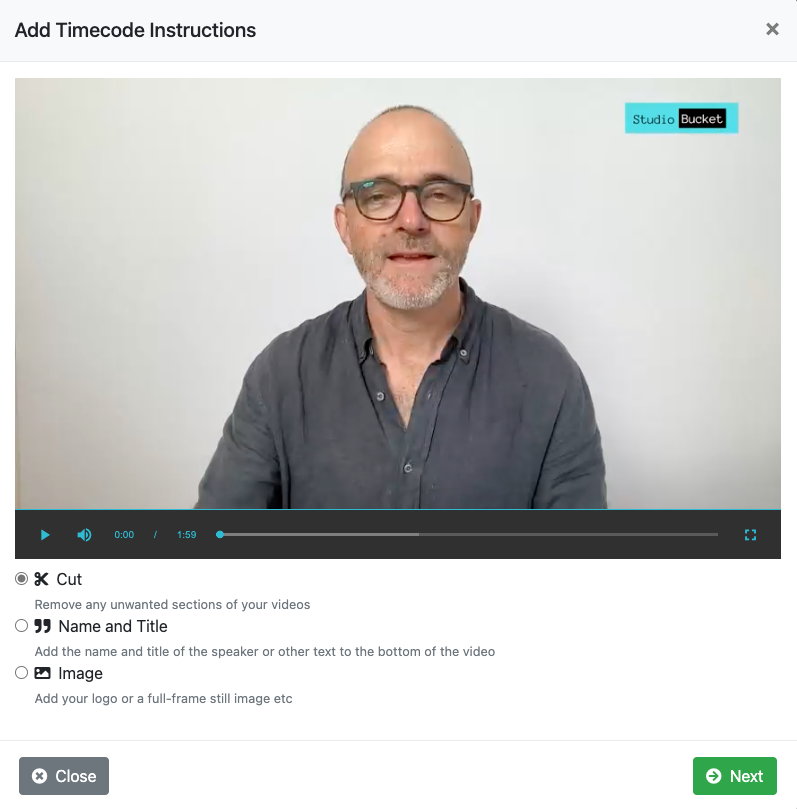
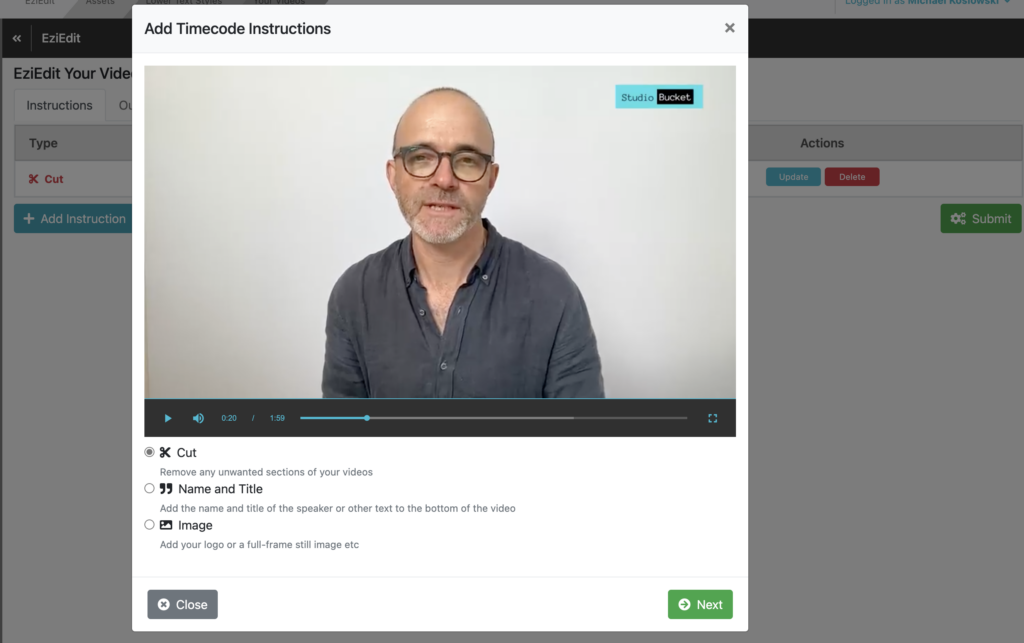
Click on the circle next to the first Cut option, and then click the Next button.
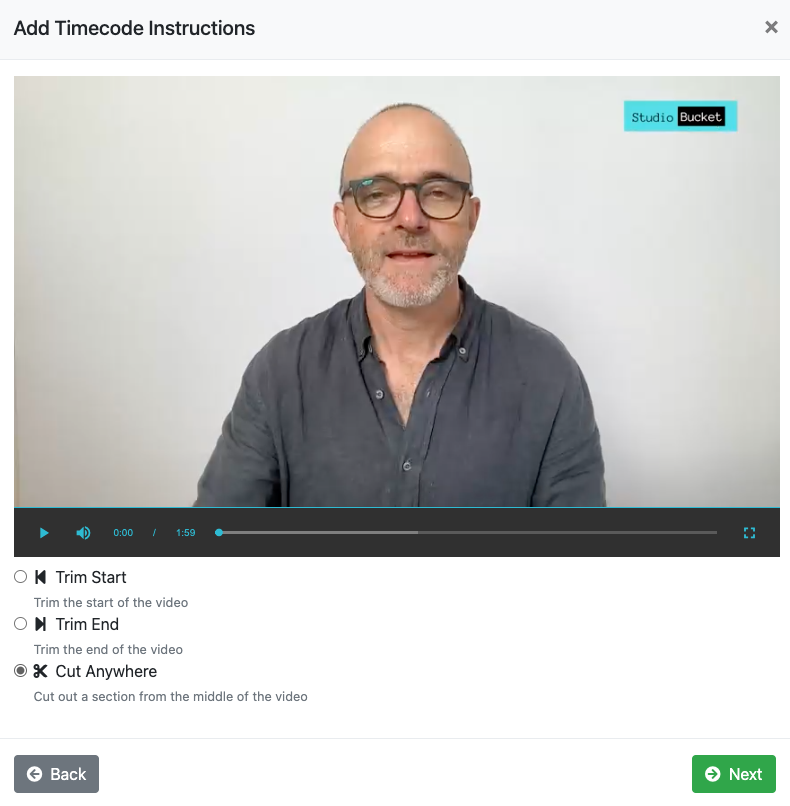
Click on the circle next to the Cut Anywhere option, then click the Next button.
You will now see your video, with Start and End boxes below it, with time codes, which are showing 0:00.0 to show it is at the start of your video.
The Start box has the blue Active selected, meaning we are going to mark the spot of the start of the bit you want to cut out.
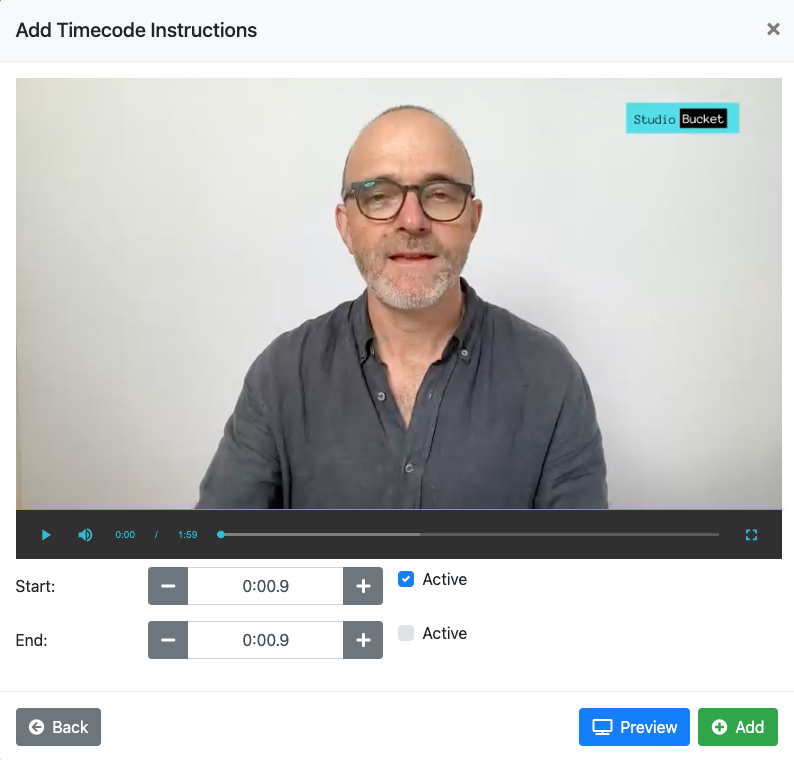
The time codes in the Start and End box below your video are in sync, so if you click on the screen to start playing your video, the Start and End time codes will move along with it.
You can ignore any movement of the time code in the End box, as it is not ticked Active yet. We’re only working on the Start point of your edit for now.
Click on your video to play and when you get to the point where you want to start your cut, click on the screen to pause.
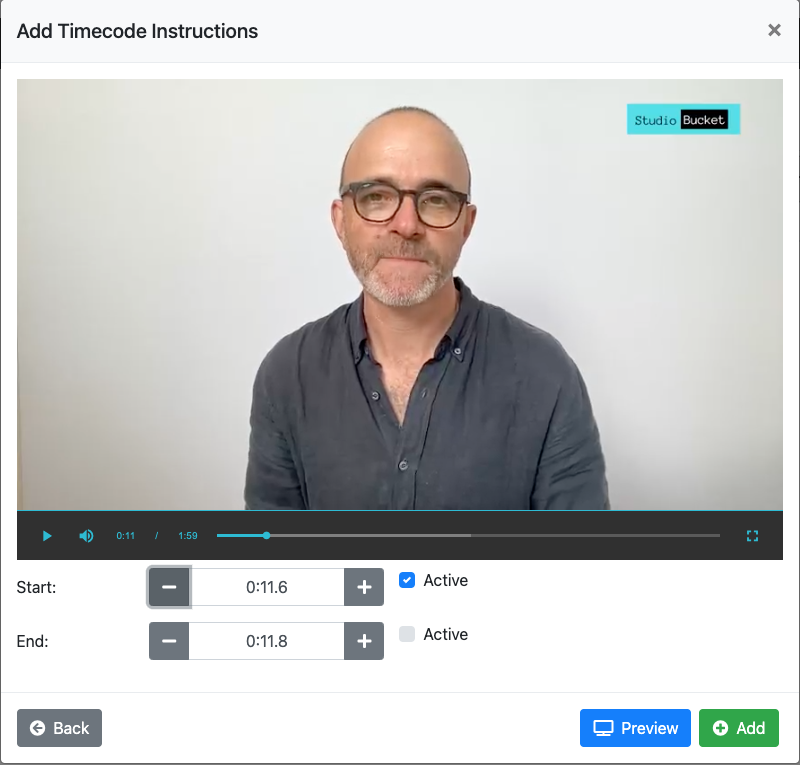
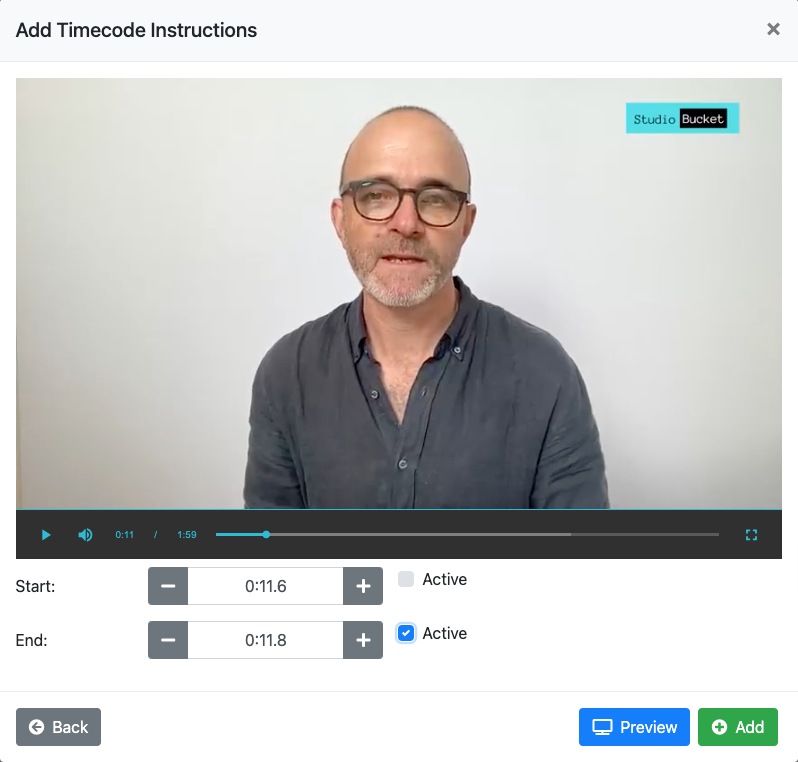
In this example, we have clicked the screen to pause the video just after the final word is spoken, as that is when we want to start our cut.
As you can see, my mouth is slightly open at 0.11.8. It’s not tragic, but with just two clicks of the – button, reducing the time by just 2/10ths of a second to 0:11.6, my mouth is shut and it may be a neater edit.

But don’t stress too much about getting your Start cut perfect at this early stage – you will be able to finetune it more once you’ve added your End cut and see how your video flows with the cut.
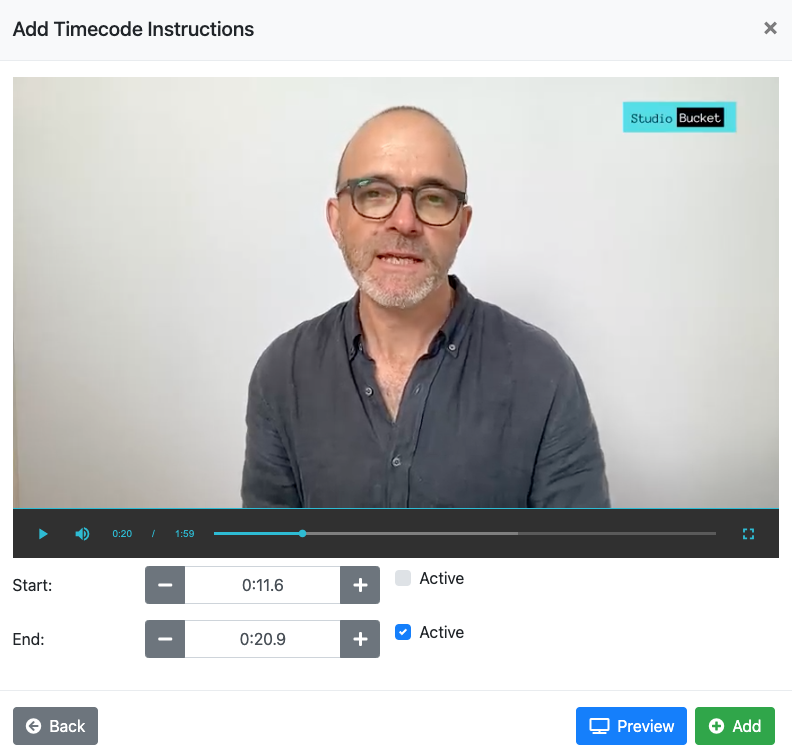
Now we turn our attention to the End cut.
Tick the blue Active box to begin work on the End cut, to signify you’re now working on it. Click on the video to resume playing your video.
When you get to the point where you want to end your cut, click on the screen to pause.
Usually you will find you have gone a little past your exact cut spot, even just a litte, so try clicking the – or + button once or twice forward or back and you will see your video move with it.
And now is the time to click the Preview button for the first time to see how your video plays with this bit cut out of it.
Preview will start a few seconds before your Start cut and end a few seconds after your End Cut, basically showing you how your video now flows with that bit cut out of it.
Now you’re got your first Preview look at your cut, you can return to the Start and End box and finetune as needed. Remember, you will need to tick the Active box next to either Start or End to let EziEdit know which bit of your cut you are wanting to work on.
Then use the – and + as needed to change your time code, and click Preview. You can do this as many times as needed. In fact, pro editors do this obsessively!
So if you are playing with your Start cut to get the best time to cut, try clicking – or + once or twice and then Preview, then back to – or + and Preview to test a slightly different time code variation.
Very soon you’ll feel in complete control and see how even one click of – or + can improve your edit, even by just showing a mouth closed rather than open, or removing a funny sound.
Pro editors do this toggling style back and forwards quite obsessively to test all the options for the final fine-tuning of an edit. Not only is it weirdly satisfying, but you will soon get ‘match fit’ and confident yourself.
Now that you’re happy you have a good Start and End point for this bit you’d like to cut out of your video, it’s time to click the Add button to save it.
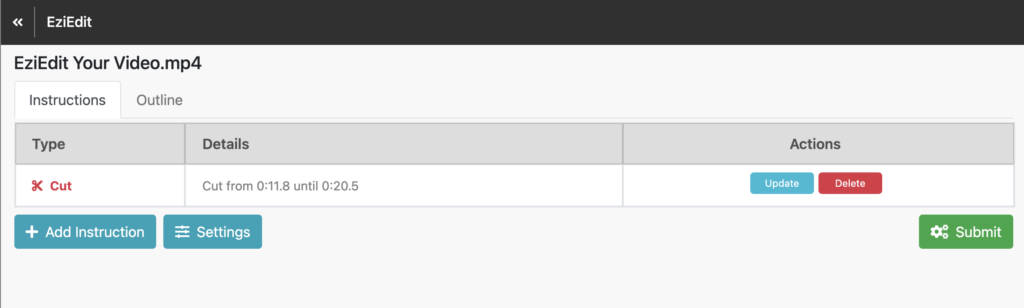
It will be added to your Instructions page, which you can see the outline of behind your video edit screen.
To see your Instructions page, X out of the video screen or else just click on any part of the Instructions page either side of your video screen.
If you’d like to revise your edit, repeat any of the above processes. A reminder that at the moment it is the End cut that is Active, with the blue tick. So if you need to change your End cut, keep going.
But if you would like to change your Start cut, first tick the blue Active box and then make your changes.
After you’ve made your changes, click Preview to see how your revised cut looks and sounds. Keep revising and click Preview as many times as needed.
When you’re happy, then click Add.
If you have more cuts to do, repeat the above process as many times as needed. In your Instructions page, you will see one line for each Start-End combo cut.
You can return to your previous edits at any stage to Update or Delete them on the Instructions page.
Click + Add Instructions to return to your video edit popup screen.
Let’s do a quick second cut.
Tick Cut and then click Next.
Tick Cut Anywhere then click Next.
Your video is now there again with the Start and End time code box.
Click on your video to play it, then when you get to the spot where you want to make your next cut, click on the screen to pause your video.
Move down to the Start time code box and make sure the blue Active box is ticked.
Use – and + to get your edit roughly in the right spot. You will be able to do more fine-tuning once you’ve added your End cut and see how your video flows with the cut.
Now we turn our attention to the End cut.
Tick the blue Active box to begin work on the End cut, to signify you’re now working on it. Click on the video to resume playing your video.
When you get to the point where you want to end your cut, click on the screen to pause.
You can click Preview to have a quick check of how your video flows after your cut.
You’ve still got your End cut Active with the blue tick, so if you need to revise the End cut click the – or + button once or twice forward or back and click Preview. Repeat until you’re happy with the End cut.
Now if you want to revise the Start cut make sure you first tick the blue Active box.
Click – or + to adjust your Start cut and then click Preview. Try a few more – or + variations and click Preview each time to quickly confirm which one you prefer.
When you’re happy, then click Add.
If you have more cuts to do, repeat the above process as many times as needed. In your Instructions page, you will see one line for each Start-End combo cut.

So for this example, we now have 2 different cuts. To get to the Instructions page which is hovering behind your video popup screen, either X out of the video popup or just click either side of it on the sides of the grey Instructions page.
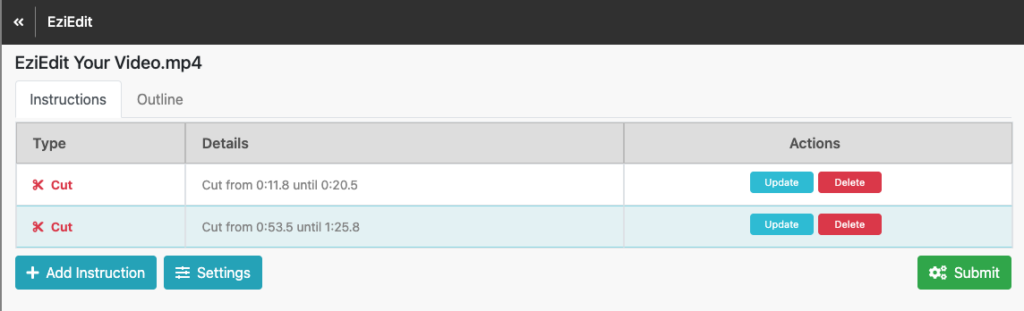
Now you are ready to Submit your edited video for processing. Click Submit.
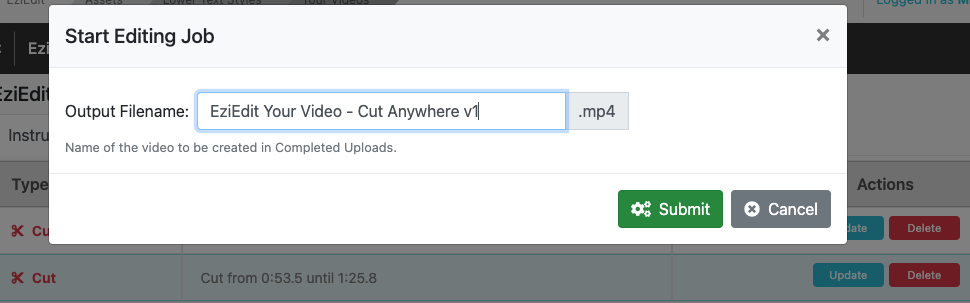
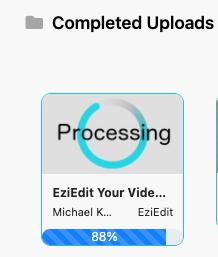
Name your video file and click Submit. It will automatically show you your video processing before your eyes, up in the Studio Bucket cloud.
First it will queue, then you will see the % counter increasing until
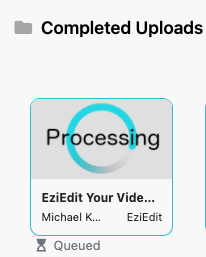
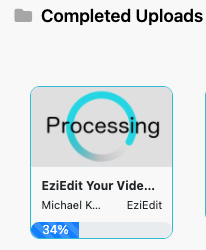
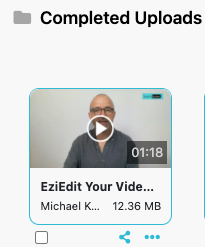
Edited versions of your video will automatically appear in your Completed Uploads section, towards the bottom of your project.
Once the thumbnail image of our video appears, it’s ready to play, share, download or publish directly to your YouTube, Vimeo, OneDrive or Stream accounts.
TIP: If you would like to add your logo as a watermark on your video, here is the guide.
Just return to your original raw video file uploaded to the Job Files section of your Studio Bucket project and click on the … below the thumbnail image, and click on EziEdit in the drop down list.
Well played.